

Appearance
Users
The new platform allows you to manage users and access without I.T intervention.
WARNING
Ensure you have a process in place for creating users, such as request audits and approvals to remain compliant.
The Manage Users screen is visible inside the Setup Portal > Users > Manage Users menu. If you do not see this, you will need to enable Setup Manage Users or Setup Read Users inside the users role.
WARNING
Roles currently cascade to all sites, i.e if you have a role that has a Setup Manage Users, then any site you have access too will have that action.
This will change in a future version and will become site relevant so you can be read-only at one site, but write access at another.
Creating Users
- To create a user, click
Create.
The fields in this screen are User Type, Username and Email.
User Types
There are 3 different user types:
Customer- Can access theCustomer Portalactions only.Manager- Can access theCustomer PortalandManager Portalactions.Touchscreen- Can access theTouchscreenapplication only.
TIP
You can only select Roles for a user that match the same UserType.
TIP
You can only sign in using Email, The Username field is only used for display purposes when greeting or contacting the user.

- The next section is what
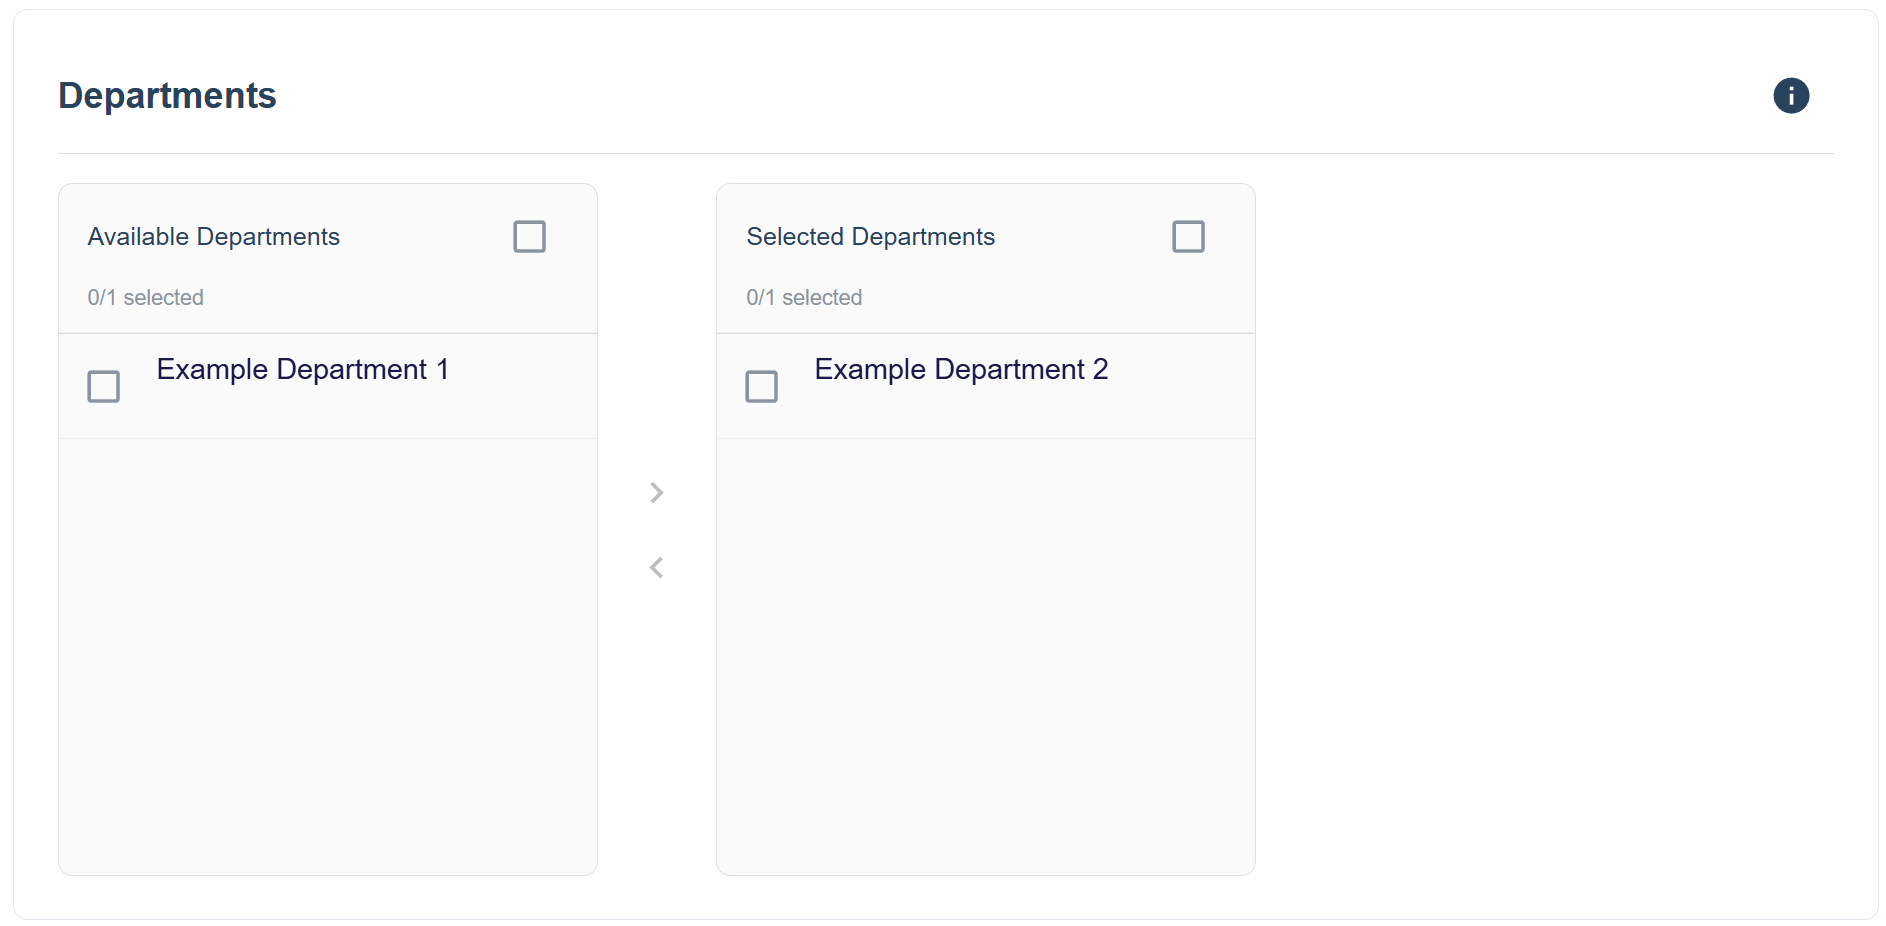
Departmentsthe new user will have access too.
TIP
You can only grant this user the same level of access as your own, or less. If they require access to a site you don’t have permission for, someone with access to that site will need to update their permissions.
TIP
The left side is all the departments that are available, the right side is what is assigned to the role.
INFO
If you have access to more than one Site/Contract, you will see an additional checkbox to limit the data visible in the Available section.
Caution should still be taken to ensure only the correct permissions have been granted.

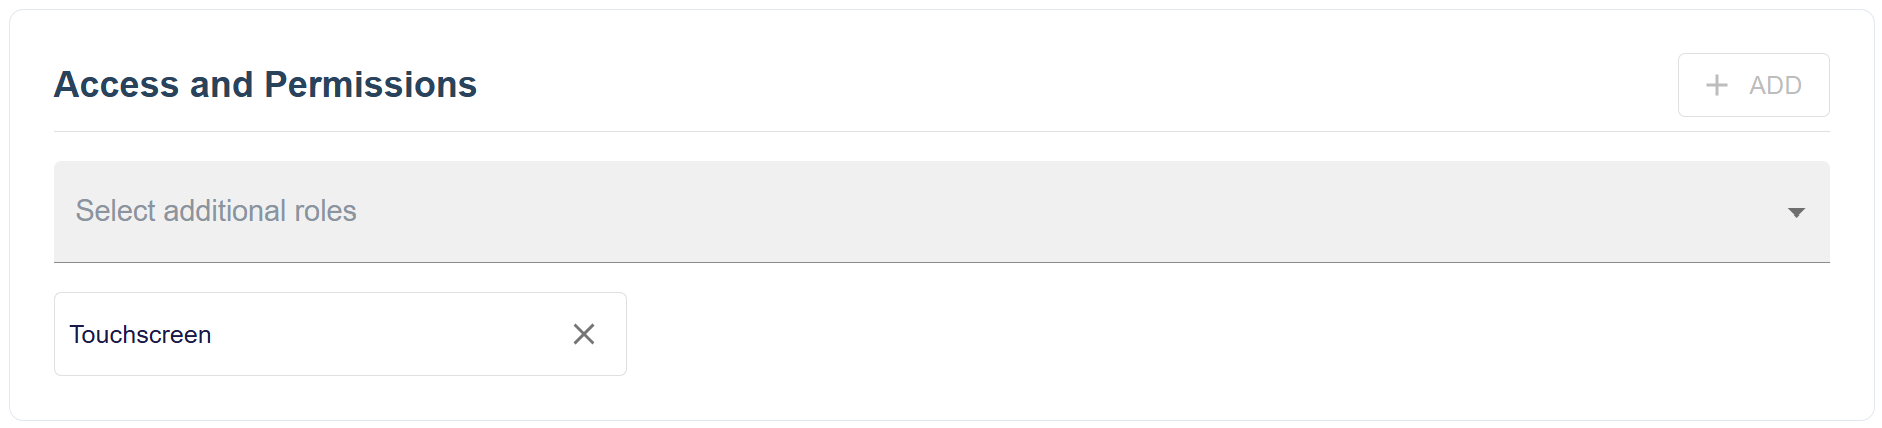
- The final section is where you can link a user to roles. Click the
Addbutton to show theRolesdropdown. You will only seeRolesthat match theUser Typeselected.
TIP
If you have access to multiple contracts, only the roles for your selected contract are displayed.
- Once you click
Save, the account will be created/updated and if a new account, login credentials will be emailed to the user specified. The user will need to change the password at there next logon.
Manage Users
Password Resets
TIP
To perform this action, you need to be assigned to a role that contains Setup Password Reset Users.
- Click the 3 dots in the top right hand side of the
User Detailssection.

- Select
Reset Passwordfrom theMenu.
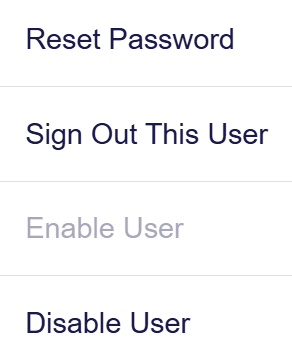
- The
Reset Passworddialog will then appear.
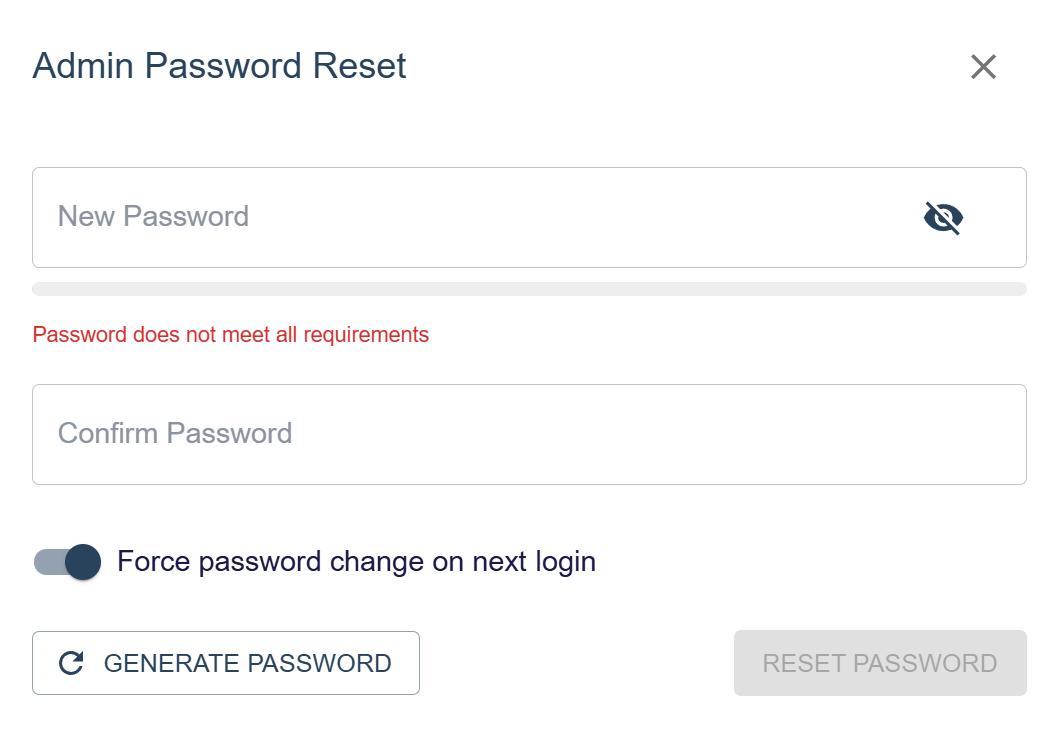
You can enter a password or use the generator, you can also specify if the user should have to change the password on next login. (It is recommended to have this option ticked for better security.)
Signing Out Users
TIP
To perform this action, you need to be assigned to a role that contains Setup Signout Users.
- Click the 3 dots in the top right hand side of the
User Detailssection.
- Select
Sign Out This Userfrom theMenu.
- The user will now be signed out.
WARNING
It can take up to 15 minutes for the user to be signed out from all devices. The user will be able to sign in again afterwards unless the account was disabled.
Disable Users
TIP
To perform this action, you need to be assigned to a role that contains Setup Disable Users.
- Click the 3 dots in the top right hand side of the
User Detailssection.
- Select
Disable Userfrom theMenu.
- The user will now be disabled.
WARNING
It can take up to 15 minutes for the user to be signed out from all devices.
Enable Users
TIP
To perform this action, you need to be assigned to a role that contains Setup Enable Users.
- Click the 3 dots in the top right hand side of the
User Detailssection.
- Select
Enable Userfrom theMenu.
- The user will now be enabled.
WARNING
It can take up to 15 minutes for the user to be signed out from all devices.
Readonly
This Manage Users page supports read and write permissions. Read Only is presented like below:
